What Do You Put Under Tile In A Bathroom?
Things to put under the bathroom tile.
A house is where a family gets united and builds happy memories to make it a home. Most people invest in having a great place to build their dream house because they want their family to be living comfortably and turn every part of it into theirs. At the same time, some people are so experimental and love DIY or do it yourself projects for their homes.
It is always fun to learn new things, especially if it involves making your house beautiful and turning it into your ideal place to live in. It will make you feel proud of yourself and appreciate every tiny detail of it. So, this one is for you for those who are doing bathroom tile installation and have questions about it.
The most common question that comes to our mind when we have a DIY bathroom tile project for the first time is what to prepare and what to put under the tile?
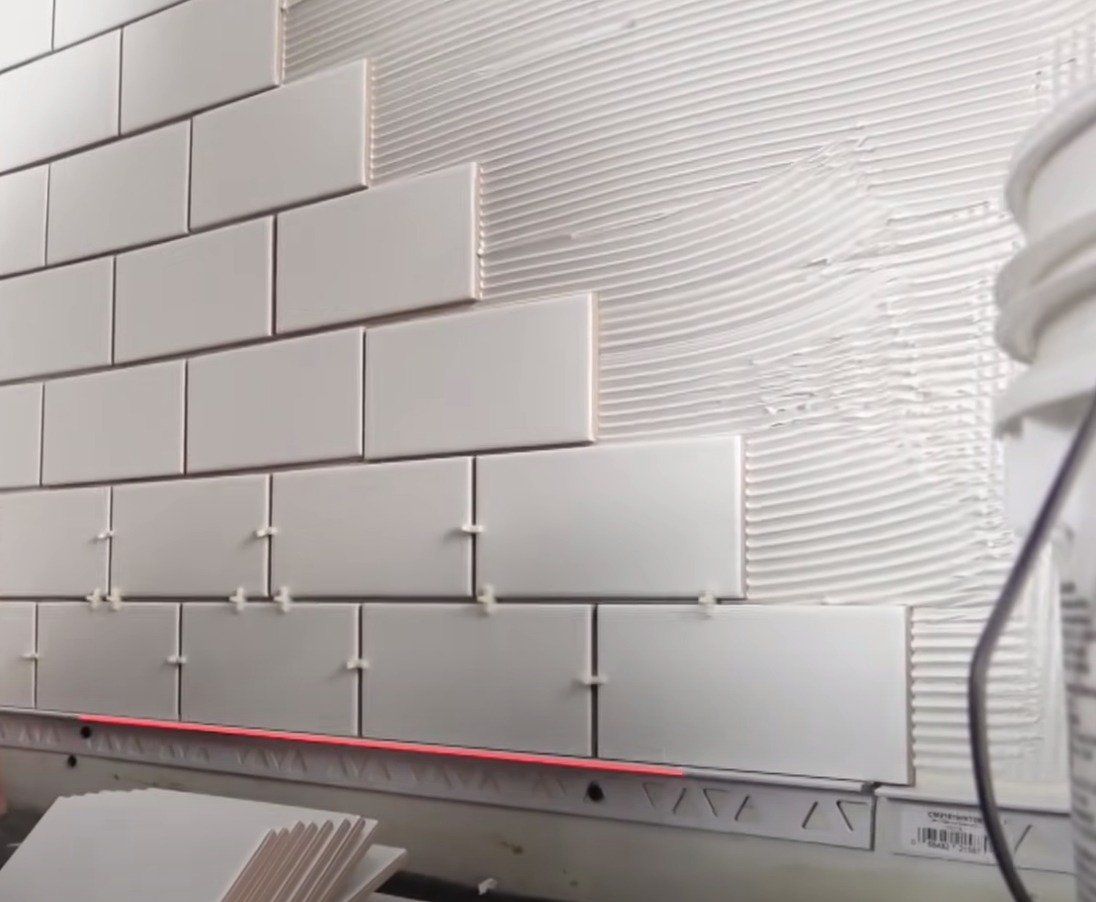
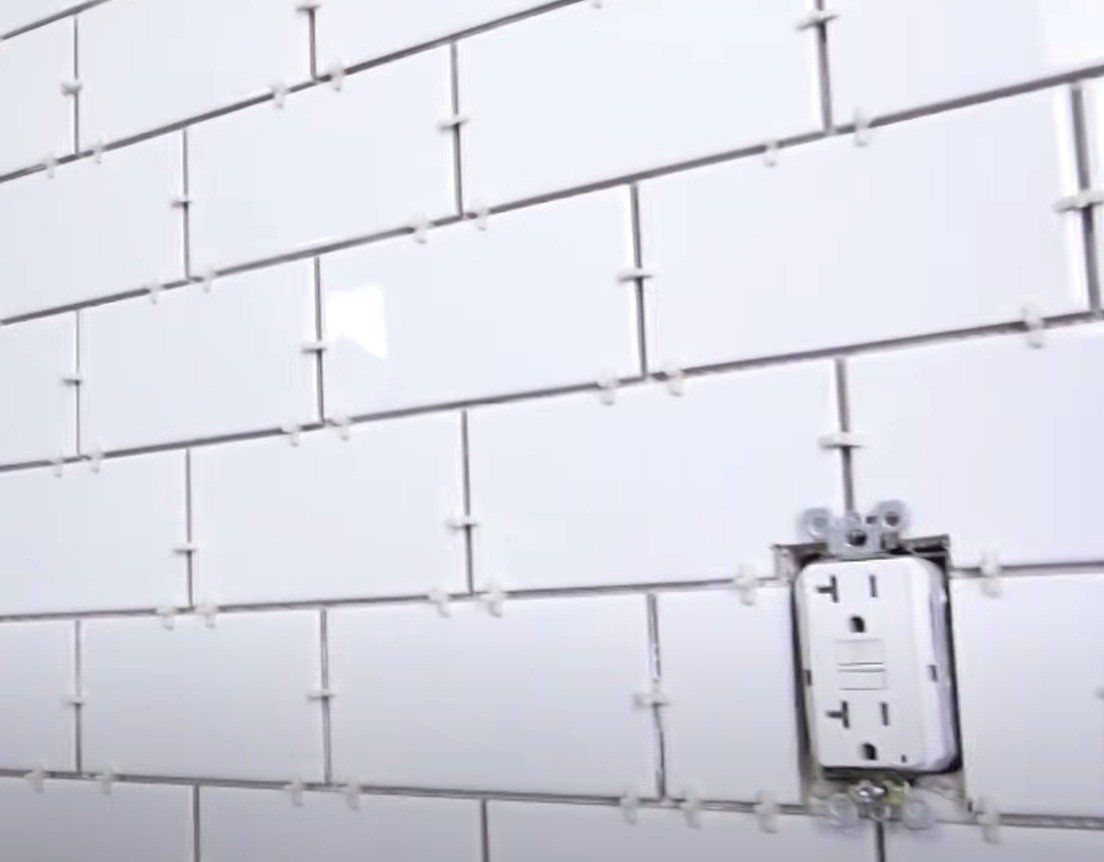
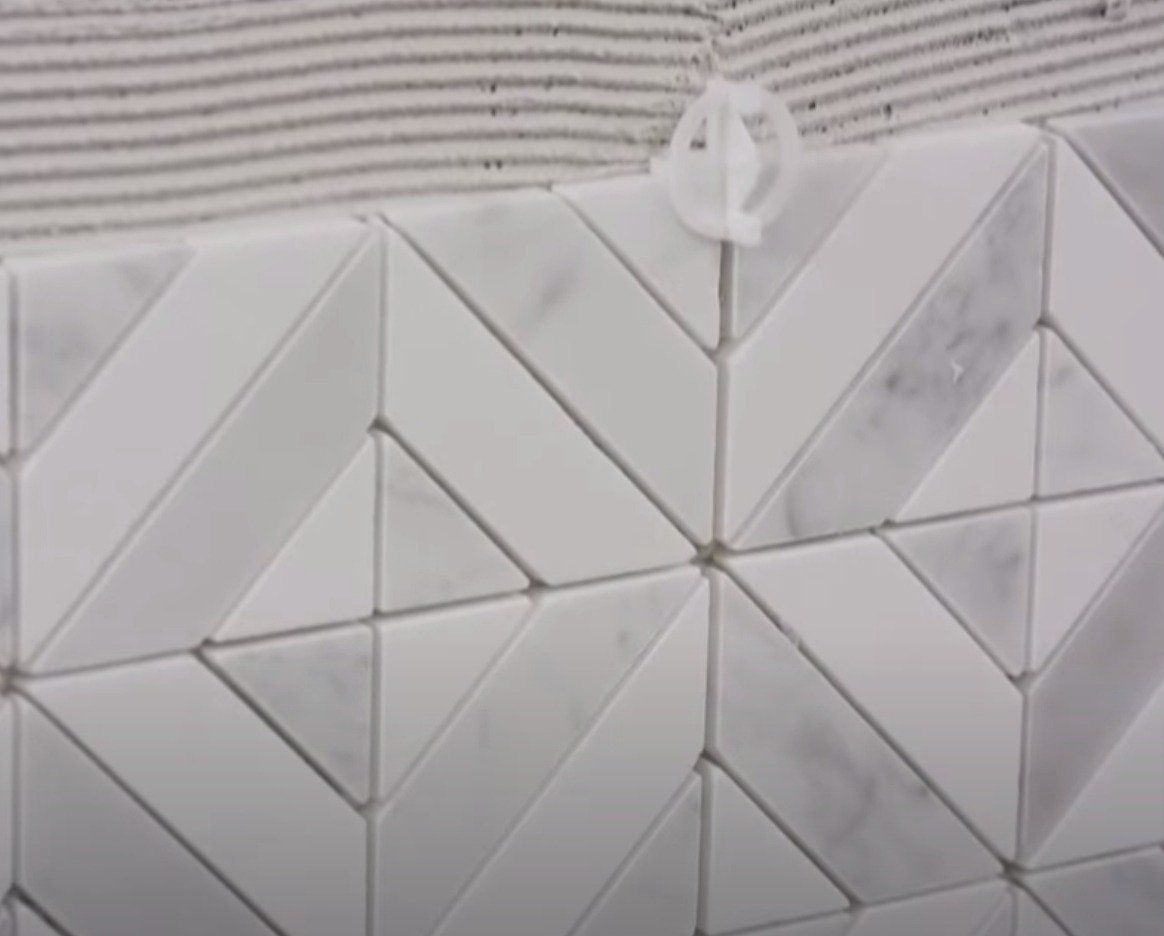
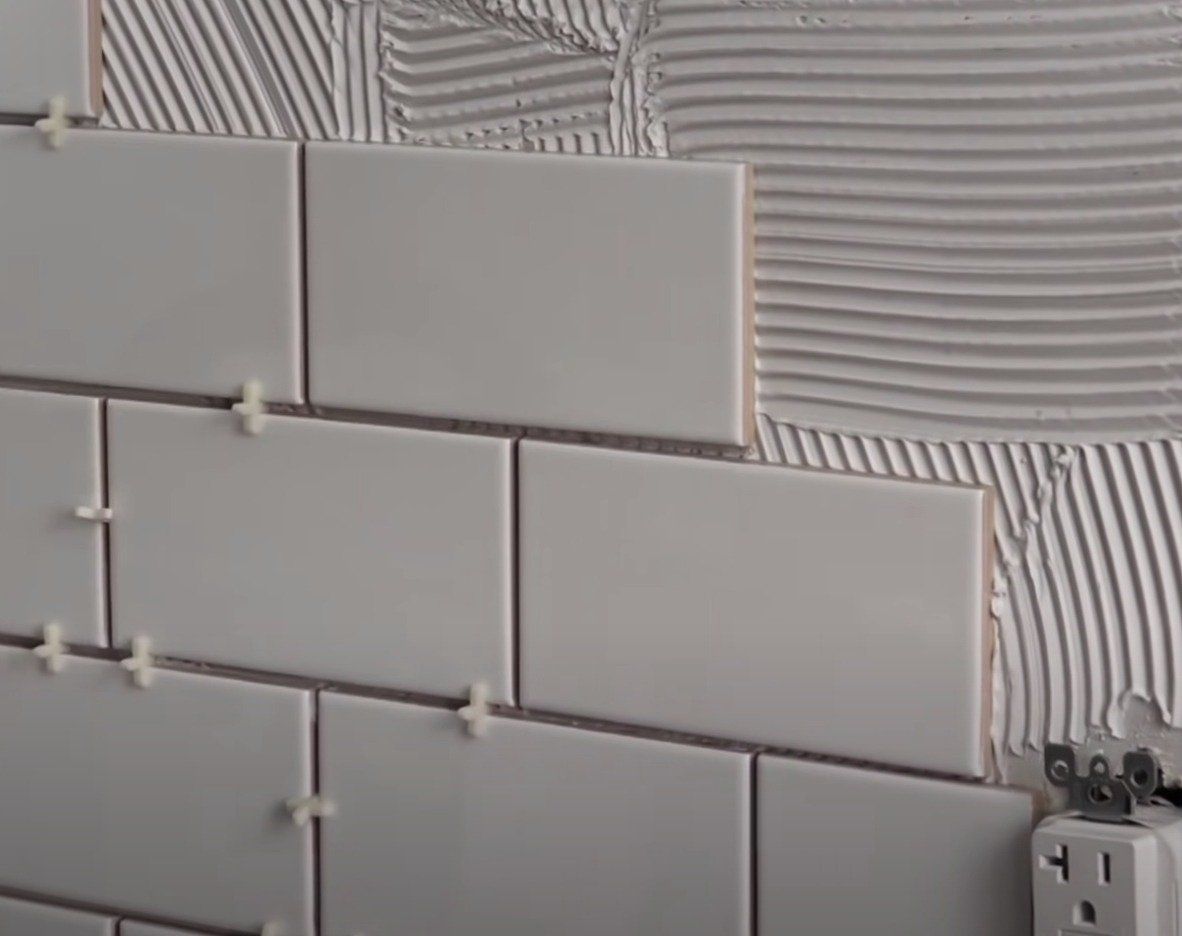
First is to have an underlayment to protect your subfloor from any water leaks that can make the wood swell, especially if it is made of plywood. The most standard underlayment are the backer board and cement board. And most experts prefer using a backer board as underlayment because it will make the surface level and protects the ceramic tiles from breaking for an extended period of time. Then put a seam tape and add a thin-set mortar to cover the gaps between the wallboard and the backer board. After that, you need to apply a high standard water resistant exterior primer to the areas where you will install the tiles. Then you need to plan out where to put the first tile and measure it carefully. You can set marks as a guide to avoiding unwanted results. Then mix the other thin-set consistently to be used as an adhesive for the tile. Then wipe some wet sponge to the underlayment before installing the tile to avoid cracks and brittle set. These are just an overview of what is under a tile.
Doing everything requires time and patience because even experts commit some mistakes in installing it. So, if you are having a hard time doing it, your tile installers are always here to help you!


